We strongly encourage users to use Package manager for sharing their code on Libstock website, because it boosts your efficiency and leaves the end user with no room for error. [more info]

Rating:
Author: MIKROE
Last Updated: 2019-07-31
Package Version: 1.0.0.0
mikroSDK Library: 1.0.0.0
Category: Motion
Downloaded: 4030 times
Not followed.
License: MIT license
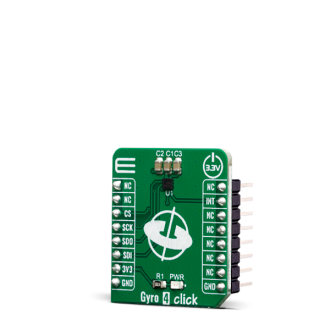
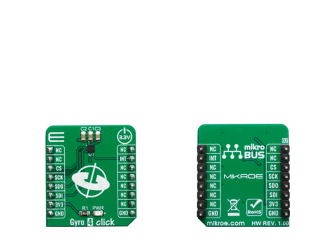
Gyro 4 Click is a two-axis MEMS gyroscope for optical image stabilization applications. It is equipped with the L20G20IS, that includes a sensing element and an IC interface capable of providing the measured angular rate to the application through an SPI digital interface.
Do you want to subscribe in order to receive notifications regarding "Gyro 4 click" changes.
Do you want to unsubscribe in order to stop receiving notifications regarding "Gyro 4 click" changes.
Do you want to report abuse regarding "Gyro 4 click".


Library Description
Library contains function for getting INT pin state Library contains function for setting CS pin state Library contains function for getting register values Library contains function for setting register values Library contains function for device initialization Library contains function for getting temperature value Library contains function for getting axes values Library contains function for software reset Library contains functions for setting power mode and full scale range
Key functions:
uint8_t gyro4_initialize( void ) - initializes the device.uint8_t gyro4_get_temperature( float * temperature ) - gets values of temperature registers and convets those values to [deg C].uint8_t gyro4_get_axes( float * x_axis, float * y_axis ) - gets values from axes registers and converts those values to [deg/s].Examples description
The application is composed of three sections :
void applicationTask( )
{
    int_flag = gyro4_intGet( );
    while (int_flag == 1)
    {
        int_flag = gyro4_intGet( );
    }

    gyro4_get_temperature( &die_temperature );
    gyro4_get_axes( &x_axis, &y_axis );

    mikrobus_logWrite( " ", _LOG_LINE );

    FloatToStr( die_temperature, text );
    gyro4_floatCut( );
    mikrobus_logWrite( "> Die temperature : ", _LOG_TEXT );
    mikrobus_logWrite( text, _LOG_TEXT );
    mikrobus_logWrite( degrees_celsius, _LOG_LINE );

    FloatToStr( x_axis, text );
    gyro4_floatCut( );
    mikrobus_logWrite( "> X axis : ", _LOG_TEXT );
    mikrobus_logWrite( text, _LOG_TEXT );
    mikrobus_logWrite( degrees_per_second, _LOG_LINE );

    FloatToStr( y_axis, text );
    gyro4_floatCut( );
    mikrobus_logWrite( "> Y axis : ", _LOG_TEXT );
    mikrobus_logWrite( text, _LOG_TEXT );
    mikrobus_logWrite( degrees_per_second, _LOG_LINE );

    Delay_ms(500);
}
Additional Functions :
Other mikroE Libraries used in the example:
Additional notes and informations
Depending on the development board you are using, you may need USB UART click, USB UART 2 click or RS232 click to connect to your PC, for development systems with no UART to USB interface available on the board. The terminal available in all MikroElektronika compilers, or any other terminal application of your choice, can be used to read the message.