We strongly encourage users to use Package manager for sharing their code on Libstock website, because it boosts your efficiency and leaves the end user with no room for error. [more info]

Rating:
Author: MIKROE
Last Updated: 2020-06-03
Package Version: 1.0.0.0
mikroSDK Library: 1.0.0.0
Category: DMX
Downloaded: 3437 times
Not followed.
License: MIT license
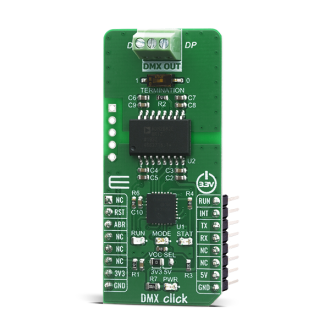
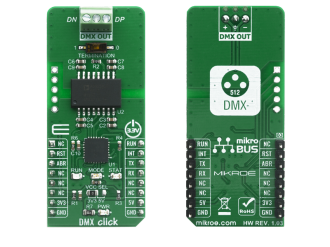
DMX Click is a device used to establish communication between the MCU and equipment that uses the DMX512-A communication protocol.
Do you want to subscribe in order to receive notifications regarding "DMX click" changes.
Do you want to unsubscribe in order to stop receiving notifications regarding "DMX click" changes.
Do you want to report abuse regarding "DMX click".


Library Description
This library offers a choice to control stage lighting and effects. One master device can control one, two, or more slave devices. User can determine length of the DMX frame, speed of the DMX frame transfer, data length, start address, interrupt duration. Any DMX slave device (DMX Click board, RGB reflector) is determined by start address and data length. This data can consist of the, for example, color selection, light intensity, and many different effects. Master executes the DMX frame transfer, '0' always be transfered first, and slave receives data from the sent frame starting from the determined start address, '0' always be received first. This is a excellent solution to control stage lighting on the easy, simple and fast way. For more details check documentation.
Key functions:
void dmx_send_cmd( uint8_t *cmd, uint16_t cmd_len ) - This function sends a command to the DMX device.void dmx_default_handler( void ( *handler )( uint8_t*, uint16_t*, uint8_t* ) ) - This function sets handler on the function which should be performed, for example function for the results logging.void dmx_run( uint8_t run_mode ) - This function allows user to put device in config or run mode.Examples description
The application is composed of three sections :
void application_task( )
{
    if ( device_mode == DMX_SLAVE )
    {
        process( );
    }
    else if ( master_mode == DMX_MASTER_USER_CTRL )
    {
        uint8_t cmd_check;
        uint8_t tx_buff[ 6 ] = { 0 };

        mikrobus_logWrite( "> CH1 - light [0-255]: ", _LOG_TEXT );
        tx_buff[ 0 ] = enter_cmd( );

        mikrobus_logWrite( "> CH2 - red [0-255]: ", _LOG_TEXT );
        tx_buff[ 1 ] = enter_cmd( );

        mikrobus_logWrite( "> CH3 - green [0-255]: ", _LOG_TEXT );
        tx_buff[ 2 ] = enter_cmd( );

        mikrobus_logWrite( "> CH4 - blue [0-255]: ", _LOG_TEXT );
        tx_buff[ 3 ] = enter_cmd( );

        mikrobus_logWrite( "> CH5 - strobe [1-255]: ", _LOG_TEXT );
        tx_buff[ 4 ] = enter_cmd( );

        mikrobus_logWrite( "> CH6 - change colores [1-255]: ", _LOG_TEXT );
        tx_buff[ 5 ] = enter_cmd( );

        dmx_send_cmd( &tx_buff[ 0 ], 6 );
        cmd_check = dmx_check_int( );

        while ( cmd_check == DMX_INT_INACTIVE )
        {
            cmd_check = dmx_check_int( );
        }

        mikrobus_logWrite( "> command sent", _LOG_LINE );
        mikrobus_logWrite( "************************************", _LOG_LINE );
    }
    else
    {
        application_demo( );
    }
}
Other mikroE Libraries used in the example:
Additional notes and informations
Depending on the development board you are using, you may need USB UART click, USB UART 2 click or RS232 click to connect to your PC, for development systems with no UART to USB interface available on the board. The terminal available in all MikroElektronika compilers, or any other terminal application of your choice, can be used to read the message.